Module 2 Formstorming

Weekly Activity Template

Kurtis Lauwereys


Project 2


Module 2

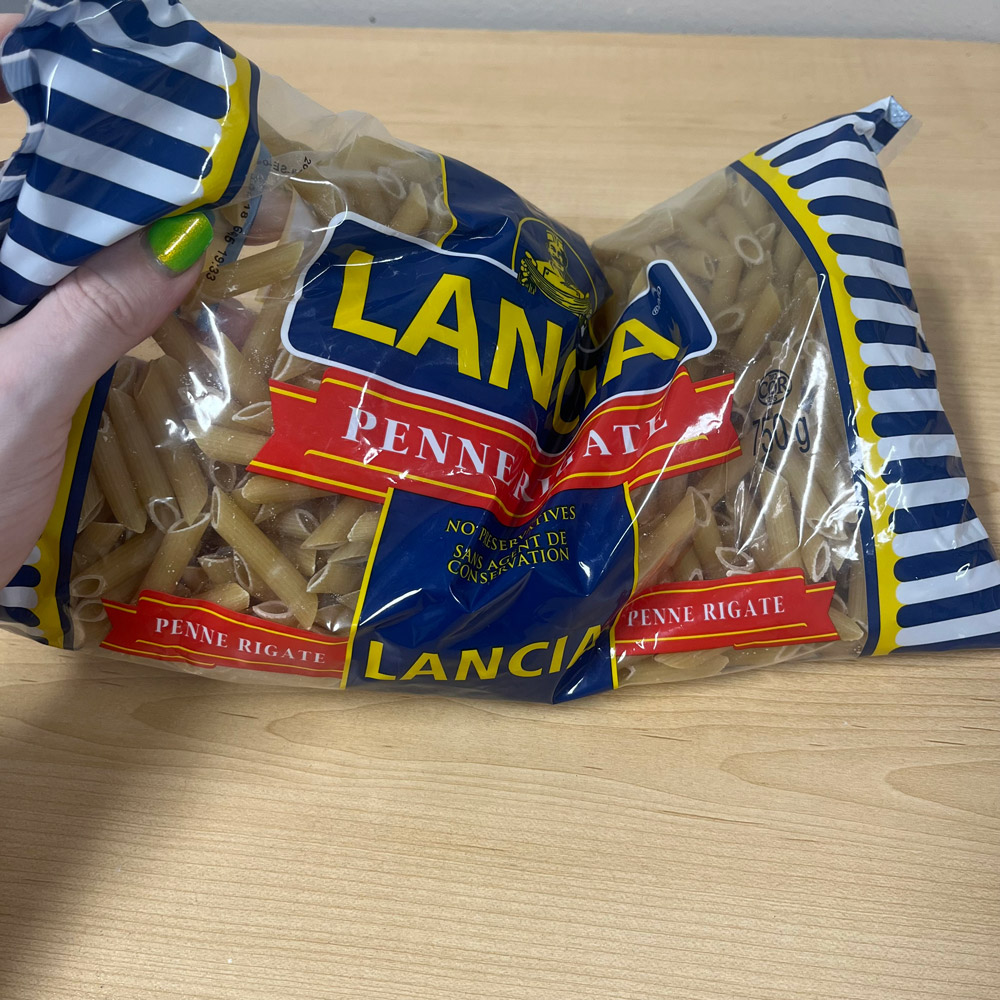
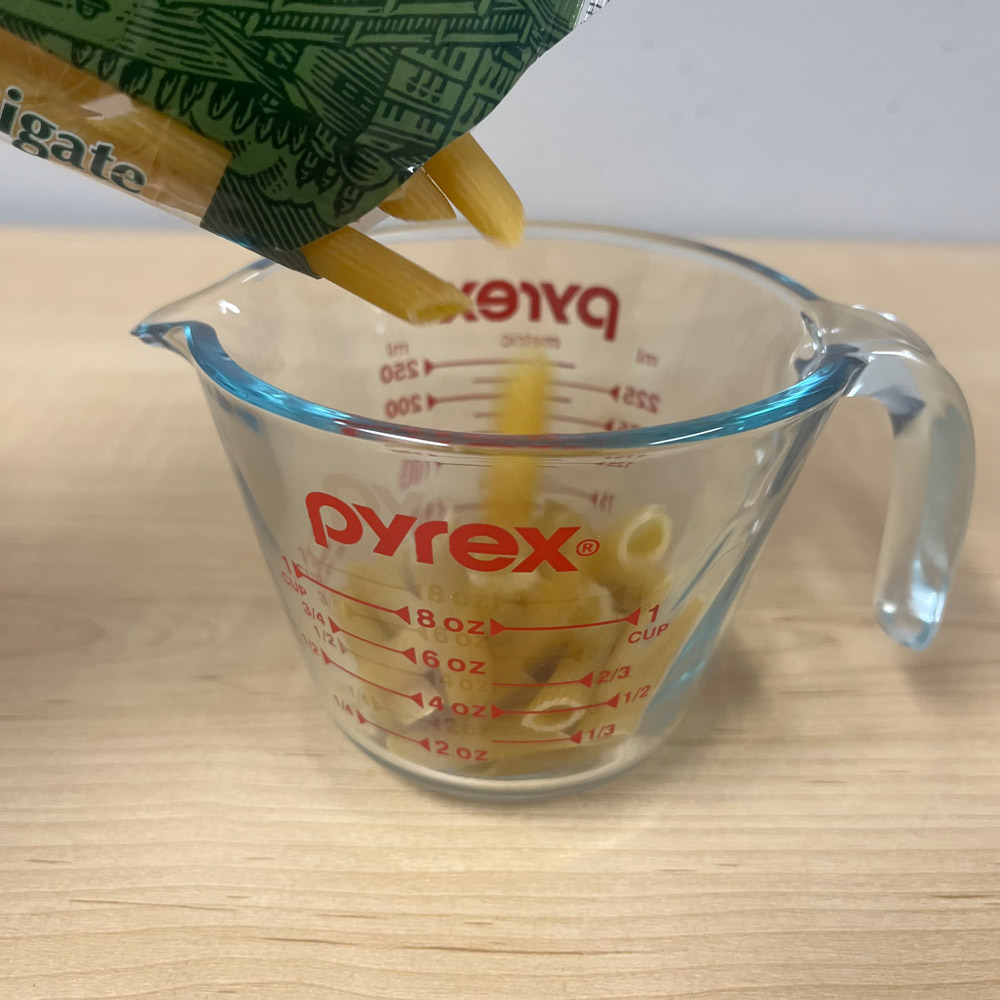
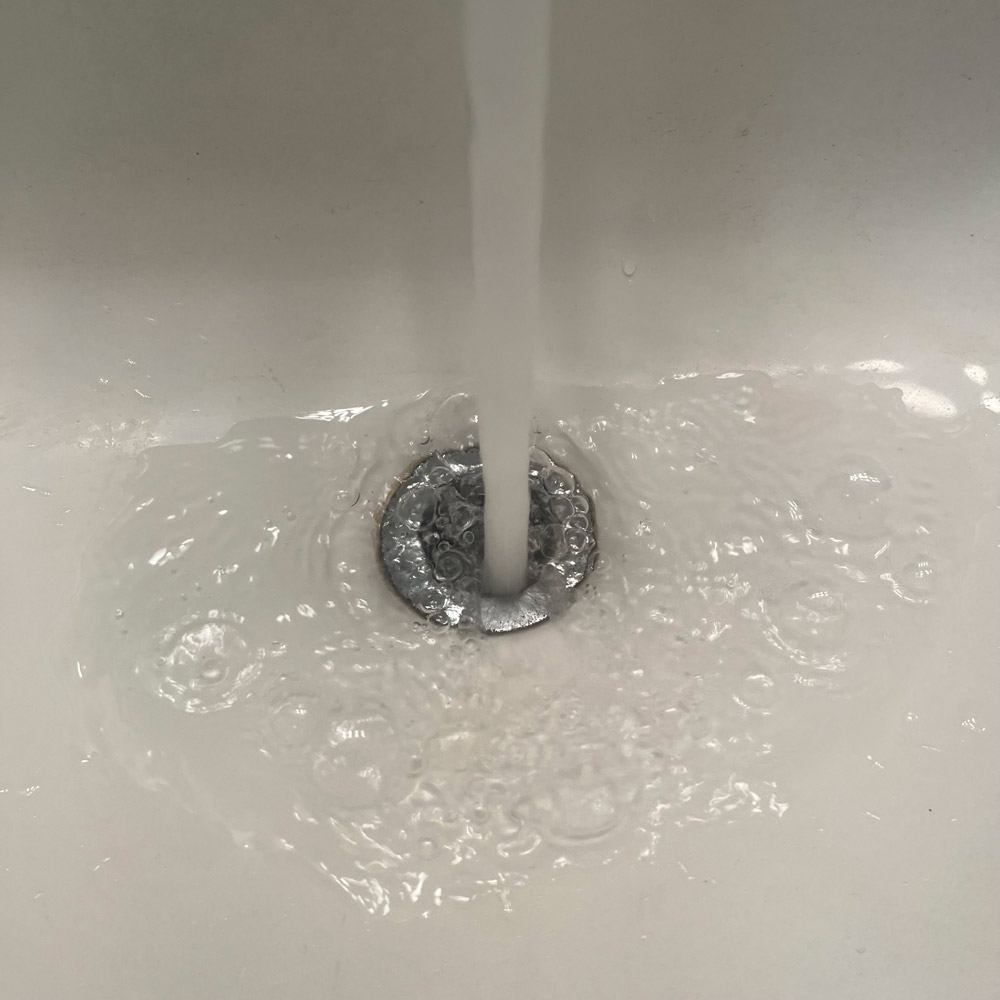
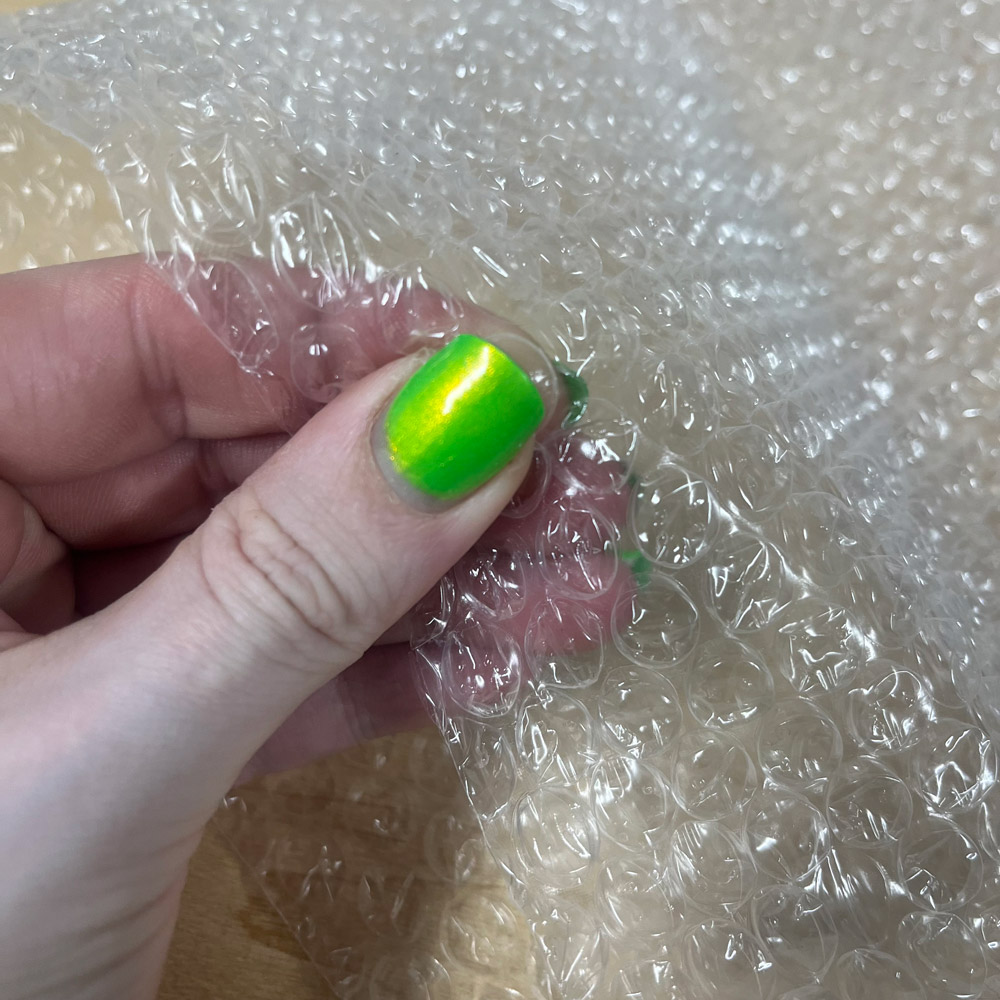
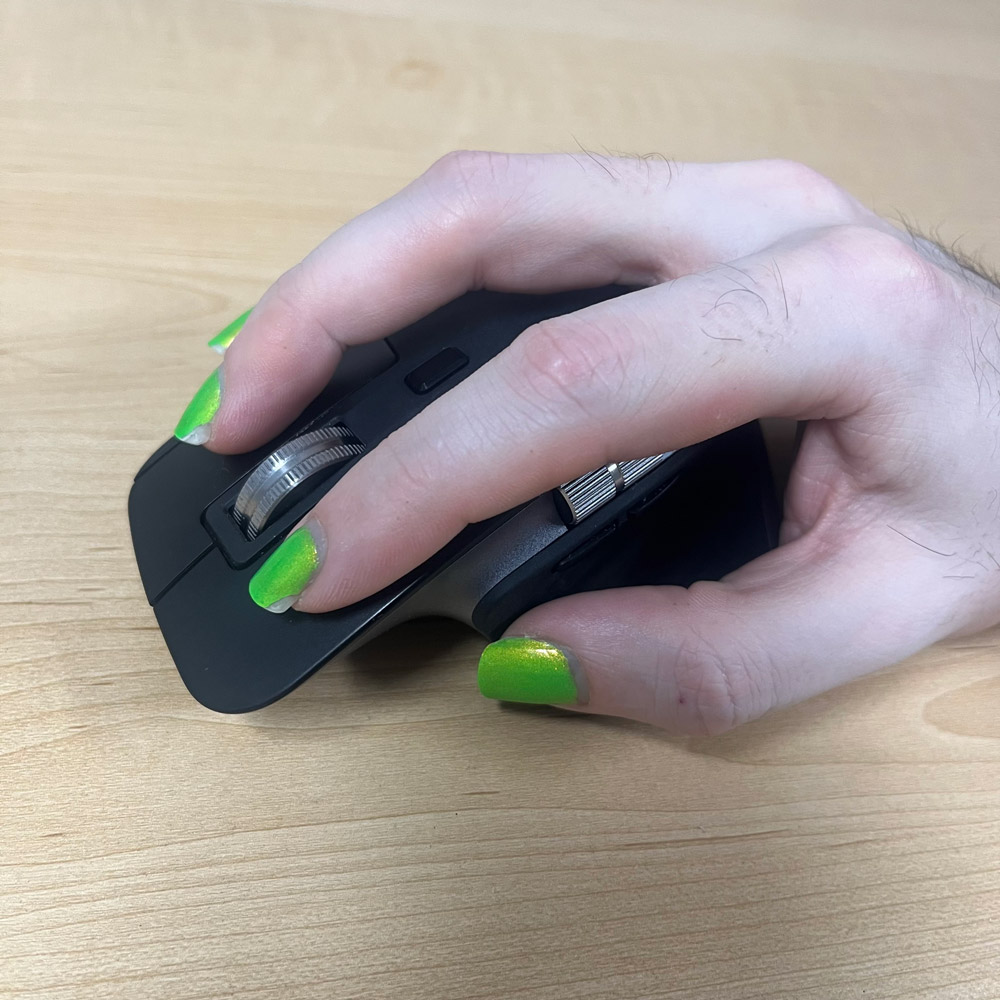
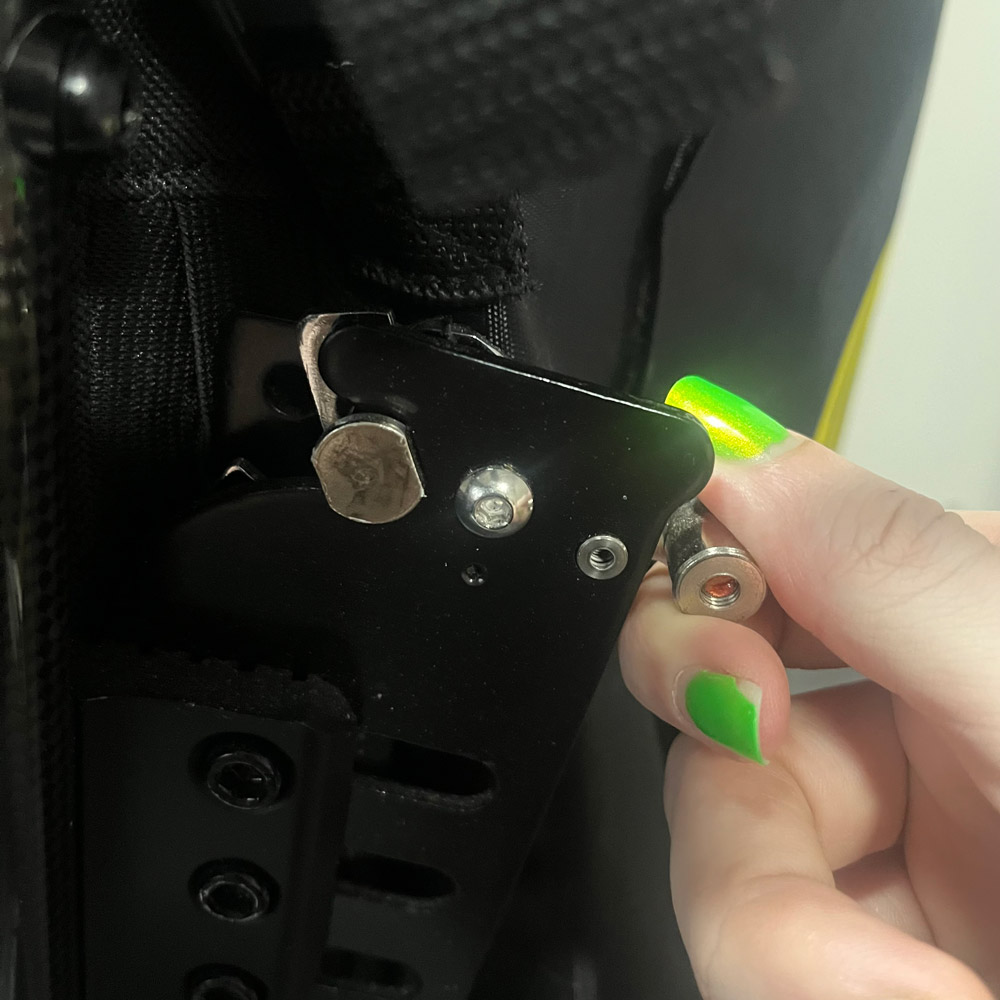
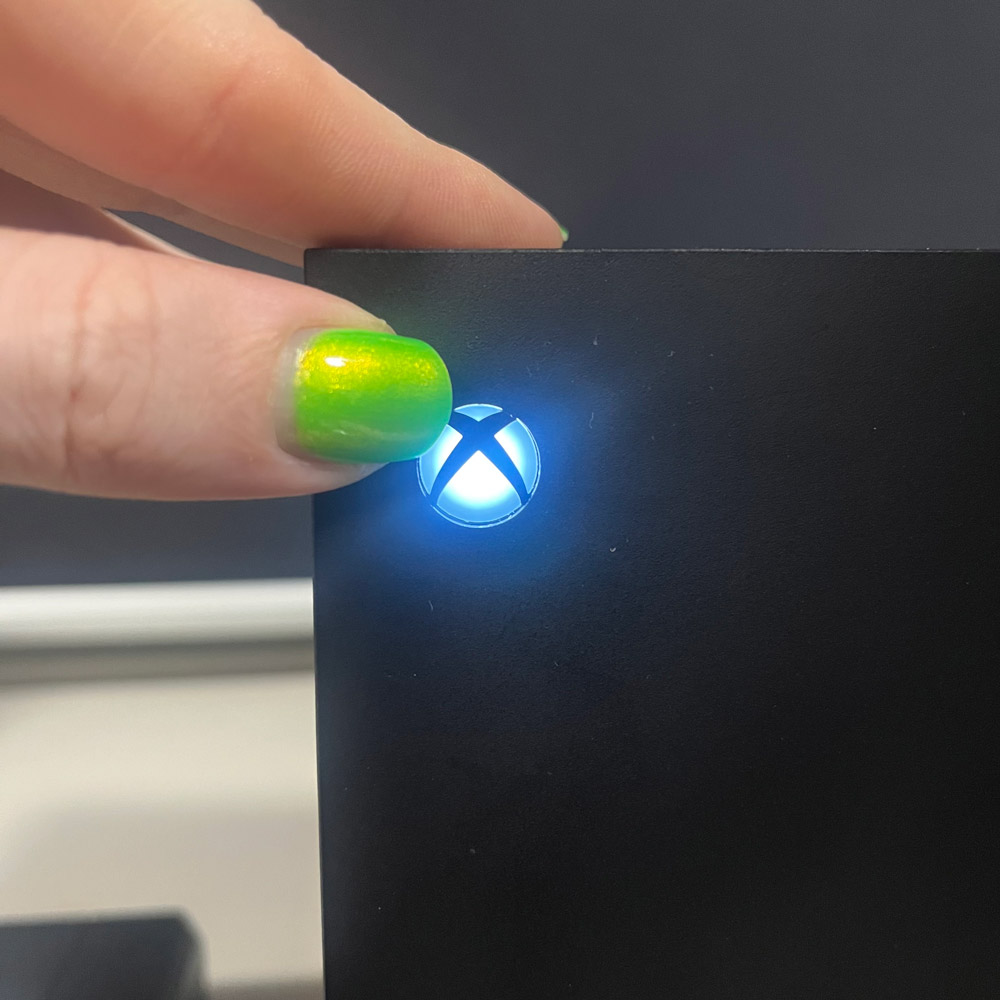
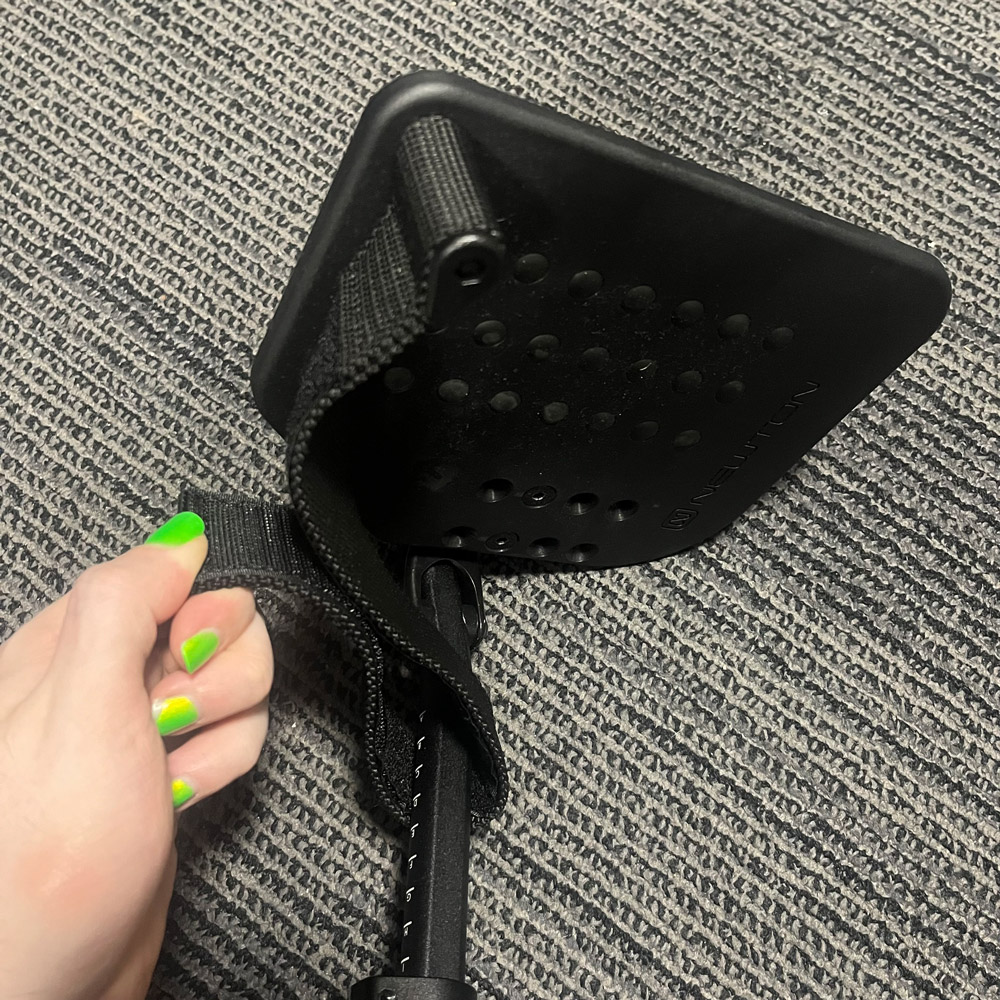
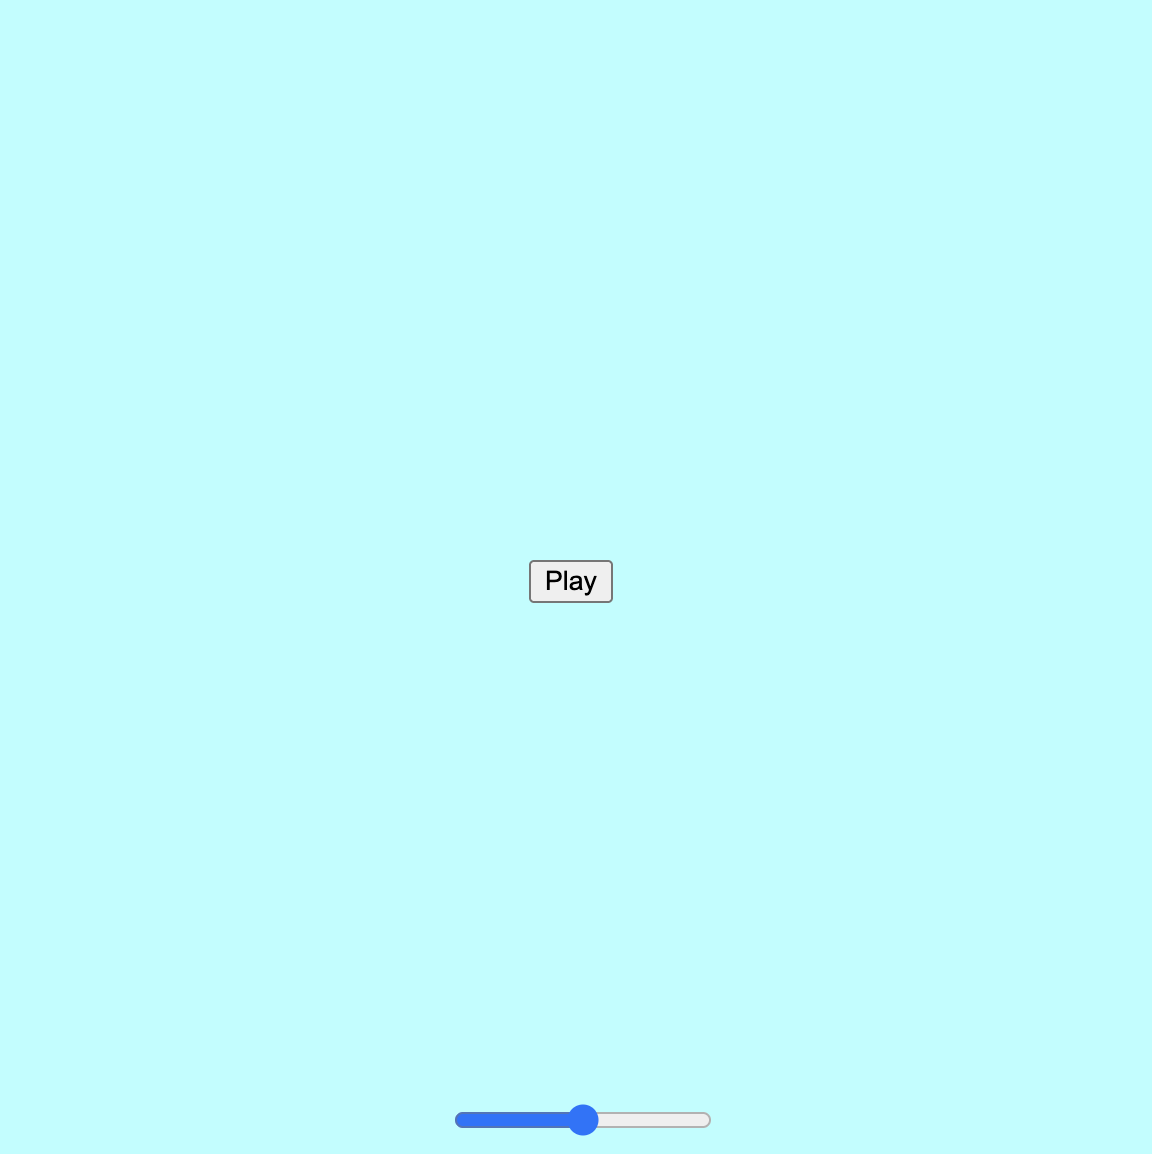
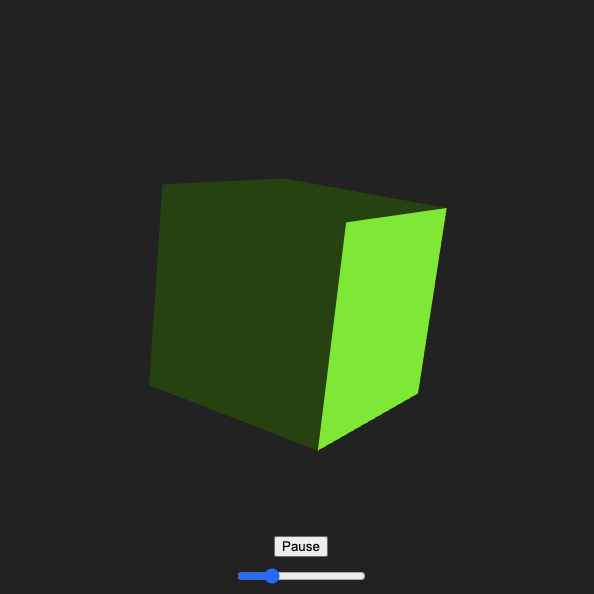
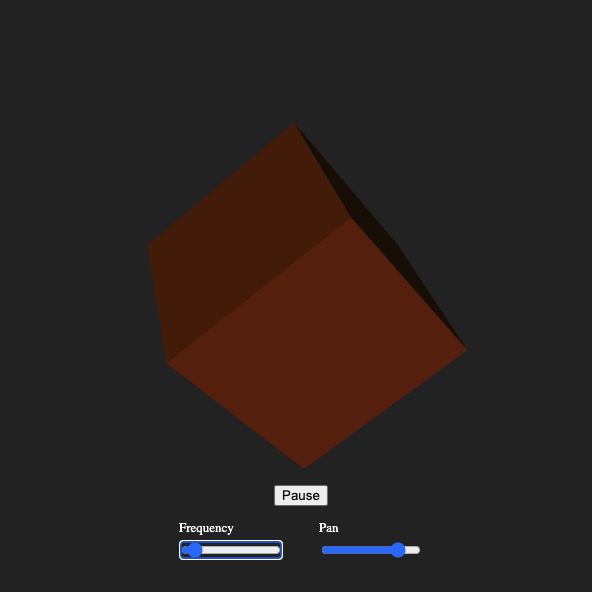
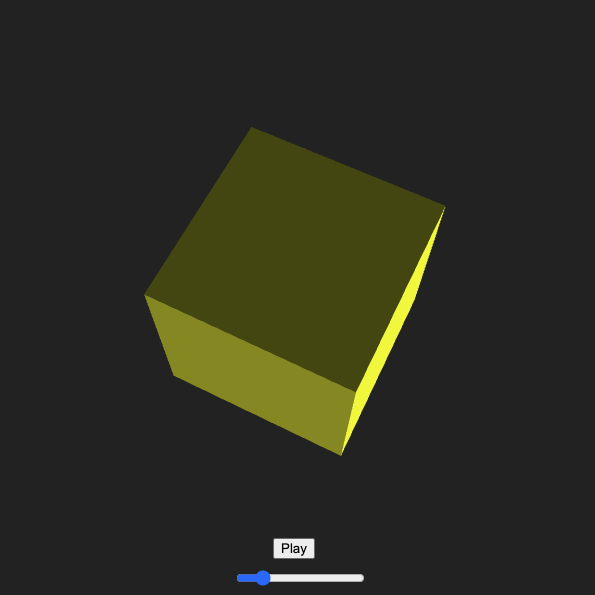
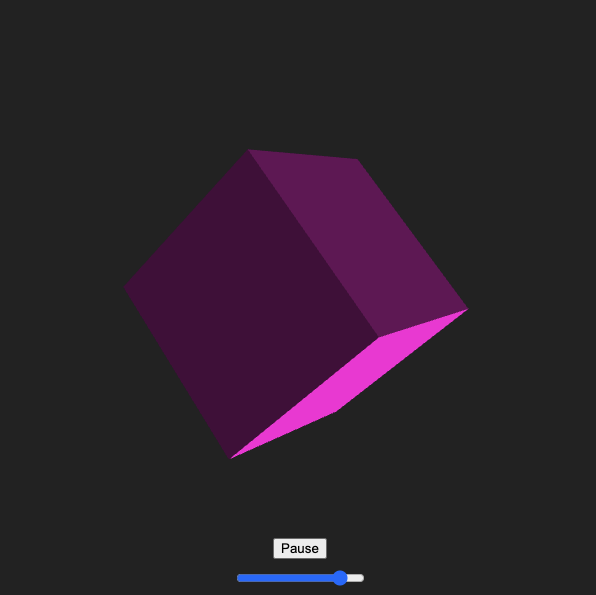
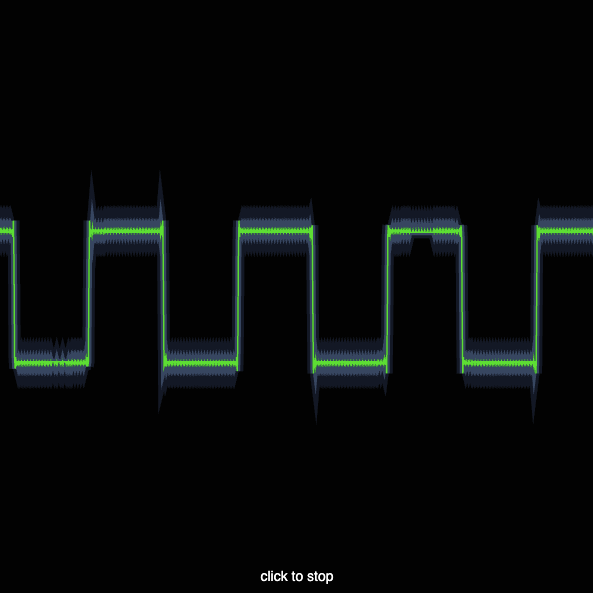
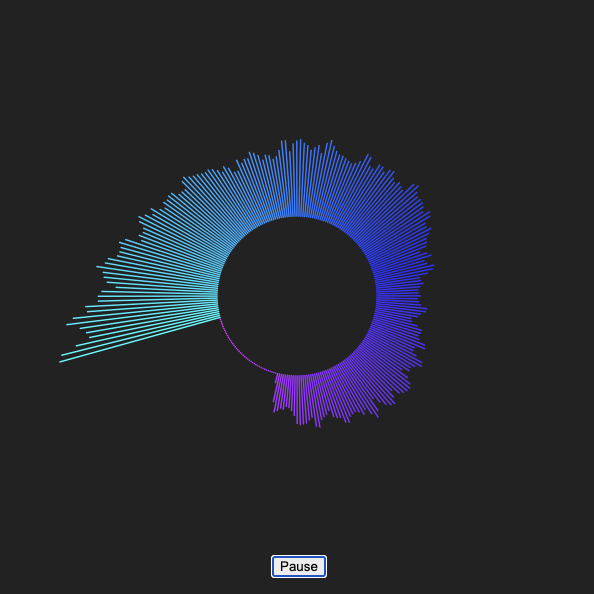
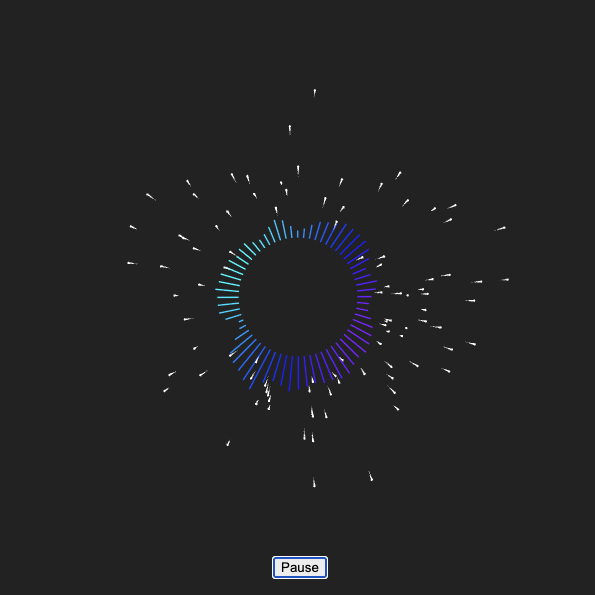
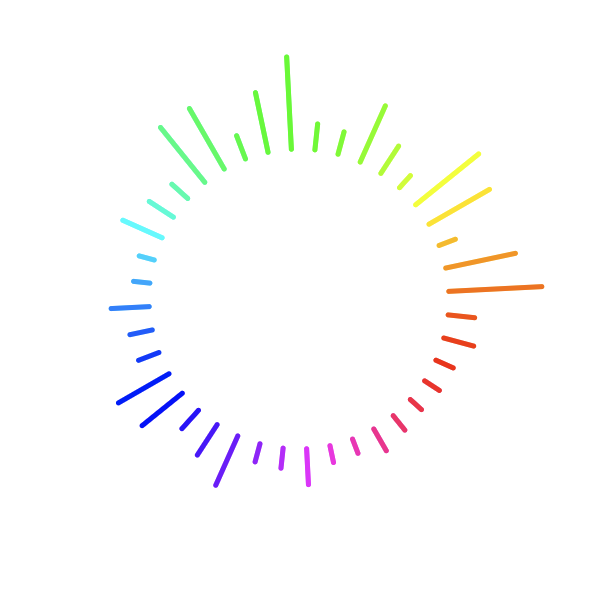
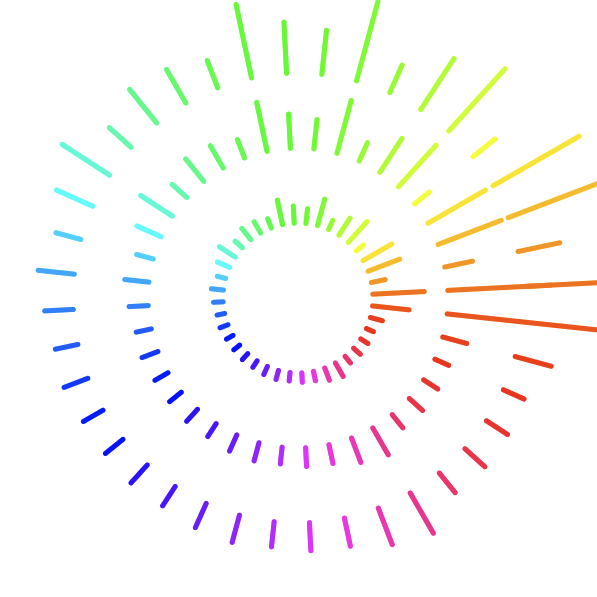
For the formstorming stages of this project, I first recorded 25 sounds from objects I use a lot in everyday life, mostly focusing on tactile sounds and familiar routines. From there, I moved into P5JS and started playing around with different ways to visualize sound using colour, movement, shape, and speed. Those two stages helped me figure out what I actually wanted the project to say, and how I wanted it to look and feel.

Activity 1

When starting this assignment I focus on sounds from everyday objects I used instead of environmental sounds. I started with my nail polish storage box because I love painting my nails, and this box makes a very distinct sound I haven't heard elsewhere when I pick it up, because all of the bottles inside rattle against the plastic almost in unison. <br> <audio controls src='audio/01_polishBox.mp3'></audio> Before I bought the storage case my nail polish used to be stored in small cardboard boxes and would rattle around against one another as I dig through it looking for the colour I want, creating this glassy sound.  <br><audio controls src='audio/02_polish.mp3'></audio> I eventually bought a polish swatch stick kit so I could see what the colours look like painted, since they often look slightly different in a bottle compared to the thinner layers painted on your nails. This is the sound the swatch sticks make as I rummage through them looking at the colours. <br><audio controls src='audio/03_polishSwatchStick.mp3'></audio> I live on my MacBook since it's used for both school and work, so I bought a protective carrying case for it. This is a sound I made frantically zipping and unzipping it. <br><audio controls src='audio/04_zipper.mp3'></audio> I have a keychain that I use to keep track of my keys, some USB drives, my student card, and random decorative charms. This is the sound it makes when I jingle it around. <br><audio controls src='audio/05_keychain.mp3'></audio> Speaking of that MacBook, here is me typing on it. You may need to turn your volume up a tad for this one, but don't forget to turn it back down after you're done listening. <br><audio controls src='audio/06_keyboard.mp3'></audio> As a wheelchair user I encounter and use wheelchair access buttons a lot to get through doorways, and this is a common sound I hear from them. <br><audio controls src='audio/07_wheelchairDoor.mp3'></audio> In my attempt to eat and drink healthier this year, I bought Gatorade powder mix for my water. This is the sound it makes when I shake the container. It almost sounds like a maraca, which is an instrument I enjoy the sound of. <br><audio controls src='audio/08_gatoradePowder.mp3'></audio> And this is what I hear in my everyday life when I am using the straw of my Stanley tumblr to mix the Gatorade powder into the water, waiting for it to dissolve fully. <br><audio controls src='audio/09_stir.mp3'></audio> Part of my health journey includes cooking more and eating out less, plus I can't afford to order out all the time. The shelves are a but too tall for me to reach comfortably in a wheelchair so this is the sound I hear when I try put them back up after doing the dishes. <br><audio controls src='audio/10_bowls.mp3'></audio> I still enjoy pop from time to time, it's my one really bad diet choice, so I included the sound of me opening a can. <br><audio controls src='audio/11_popCan.mp3'></audio> I use the microwave a lot to heat things up, especially meatballs for my pasta, so it made my list of sounds to include. It has a very loud beep sequence, but my mic automatically adjusted the decibels so it's not obnoxious in the recording. <br><audio controls src='audio/12_microwave.mp3'></audio> Pasta is a staple in my diet, especially penne pasta which I buy in bags, so I hear this sound very often. <br><audio controls src='audio/13_pastaBag.mp3'></audio> This is what my pasta sounds like when I'm measuring it out before dumping it into the boiling water. I use a proper measuring glass to do this. <br><audio controls src='audio/14_pastaGlass.mp3'></audio> When I'm waiting for something to finish cooking I often tap my nails against the table in the kitchen while watching my food. I do it in a specific pattern starting with my pinky and ending with my index finger, this is what it sounds like. <br><audio controls src='audio/15_nails.mp3'></audio> Since I use a wheelchair I sometimes use the built in seatbelt for extra safety, especially if I'm going through uneven terrain or if someone else is pushing my chair. This is how it sounds when it latches and locks into place. <br><audio controls src='audio/16_seatbelt.mp3'></audio> In an effort to stop my clothes from warping at the shoulders due to too thin hangers, I bought wooden hangers. They are nice but they make a lot of noise clanging together when I'm almost out of shirts right before I do laundry. <br><audio controls src='audio/17_hangers.mp3'></audio> I live in the residence and it is very cold sometimes, even with the heater on. I use my own space heater and associate the hum of it with comfort and warmth. You will need to turn up your volume almost to max level for this to be audible, and don't forget to put it back down after you're done. <br><audio controls src='audio/18_heater.mp3'></audio> I try to stay on top of dental hygiene, and I like doing a skincare routine when I have time, so I hear my bathroom sink running a lot. <br><audio controls src='audio/19_water.mp3'></audio> This might not seem like an everyday sound, but I get a lot of mail and lately I've gotten a lot of items that need bubble wrap to keep them safe. I like to pop it sometimes so I included it in my formstorming. <br><audio controls src='audio/20_bubbleWrap.mp3'></audio> Since I live on my MacBook so much I also use this mouse a lot and hear the subtle click it makes. I use it so much I don't even consciously notice the sound it makes anymore. <br><audio controls src='audio/21_mouse.mp3'></audio> Books are VERY important to me, especially physical books. I have an extensive collection of books back home, ranging from novels and short stories, to art, fashion, design, and architecture books. I'm talking over 200 and counting that I've been collecting since I was a child and my mom bought me Harry Potter. The sound of flipping through pages, and the smell of a new book is as close to heaven as I can get in this realm. I recorded the sound of me flipping through one of my newest additions. <br><audio controls src='audio/22_bookPages.mp3'></audio> This won't be obvious to most people, but this thing is my wheelchair backrest lock. It keeps the wheelchair backrest in place so the backrest can't shift, or detach, as my back creates force against it while I push myself around. I hear this sound whenever I need to unlock it and relock it, which is often because that's the only way I can fold it up to get it into a car when I need to go somewhere in an Uber, like for my medical appointments. <br><audio controls src='audio/23_wheelchairHinge.mp3'></audio> Around this time in the activity I was getting a little frustrated trying to record sounds, and think of ones I liked, so I ended up taking a break to play Xbox. I realized that would be a great sound to include as soon as I turned it on, so here it is. <br><audio controls src='audio/24_xbox.mp3'></audio> My final sound is the velcro on my wheelchair foot rest. Since I'm actively working on getting prosthetic legs this is now a relevant sound in my life, because I need to use these footrests to hold my prosthetics in place and get my chair plus my legs to and from appointments in Toronto. <br><audio controls src='audio/25_wheelchairVelcro.mp3'></audio>

Activity 2

I started by following along in class with Jen and learning how to load a sound and modify the slider to control the volume. While looking at the createSlider reference on P5JS, I saw you could change the background colour from black to white with the slider. This made me wonder if I could change it using the full RGB spectrum. I was having trouble piecing the correct code together to do it, so I asked Claude what I was doing wrong. It told me I needed to use HSB colour mode, not the standard RGB mode, and then map it to the slider to make the background to have the 'hue' be a variable with the contrast and saturation being fixed. Then it worked! After that I looked at the code for the play button and added it in because I didn't want the sound to autoplay. Next I wanted to see if it was possible to change the frequency instead of the volume with the slider, which it was. I kept the original song in here because using my own sounds from activity 1 wouldn't work as well to play with the slider, since they are much shorter. I made the default slider value 1.0 frequency so the song plays normally, the low end is 0 so it stops, and the high end is 2 so it plays at double speed. While doing the previous sketch I remembered playing with 3D shapes to change their colours in 3D space back in Modelling & Materials. I decided to see if I could modify the colour of the shape with a frequency mapped slider and I sure can. This sketch is just a 3D primitive cube set at a constant rotation angle, with ambient and directional lighting, but the hue value is mapped to the slider which also controls the frequency. I took the previous sketch changed it to add another slider so now I have 1 to control the frequency via hue mapping, and a new slider to map sound panning to the directional lighting. I couldn't figure out how to do this entirely on my own because it was very complex so I had to ask Claude for help, and it got me to the result I wanted. I went back to Steve's tutorial and played with the bar graph looking visualizer. I wanted to overlap the sounds because I found 'playmode sustain' in a P5JS public sketch which can be used to overlap sounds. I couldn't get 'playmode sustain' to work with the code from Steve and didn't have the time to try to rebuild this entire sketch, so I asked our AI overlord Claude how to fix this. I ended up needing to make an array for the sounds to overlap instead of using playmode, so every time the 'play/again' button is pressed it will trigger a new sequence of notes with its own independent oscillator, note frequency, and timing. You can press the button multiple times as fast or as slow as you want to layer it. I was very pleased with this outcome because I was starting to think of ways I can overlap sounds for either project 2 or 3, so this might end up being part of the final project. I wanted to map the height to the frequency as well so I took the previous sketch and added a frequency multiplier to create a step sequence in the bar graph. Claude helped me with this because it got too complex and my iterations weren't working. I like how this can be used to easily visualize the frequency as it raises, like someone walking up a staircase. Rectangles can be kind of boring so now we have spheres. I made them cyan so they look like abstract water splashing, and gave it a matching play button. This is a modification of Steve's code that we were given in class. I wanted to also spread them out more across the X axis but I couldn't figure out how to do it. I even asked Claude and Claude couldn't get it to work how I envisioned either, which was a first, so I reverted back to the last working version I had. I thought it would be something to do with the spectrum length in the ftt analyzer but I couldn't get it to work with the spheres. I was quite annoyed by the previous sketch not working how I wanted, with the horizontal spacing issue. I tinkered with an iteration of it for a while before calling it a day and moving on. I went back to the cube and decided to try mapping the rotation speed to the slider to see what that could look like. It worked but the audio felt too fast for how fast the cube spins, so I iterated in the next sketch. This one was tricky at first until my brain found the solution, and Claude coded it. With the prior sketch I liked the rotation speed of the cube and the frequency of the song at their default values, it felt synchronized. However when I increased the frequency it felt like the song started playing much faster than the rotation speed of the cube and became disjointed. I was tinkering with all the multipliers to see what I could do to fix it before I realized I need logarithmic multipliers, not linear multipliers. I didn't know how to code that in so Claude adjusted it for me. I adjusted the multipliers it gave me and found a spin rate I'm very happy with now. I went back to Steve's tutorials and played with the sliders that are part of the visualizer. I gave them independent colours which was easy, and then I had to use Google to figure out how to make them trail. It was surprisingly easy, I just had to change the background to be more transparent in the draw function by adding an alpha value, making it semi transparent. Since the draw function runs every frame each frame adds a slightly transparent background, instead of an opaque one, crating the trail effect. I also added a background of matching colour with no transparency to the initial setup so it would be the right colour as soon as it starts. I got the trails to be smoother by adjusting the alpha value to be 1, so it's the lowest it can possibly go. I added a glow effect by laying a semi transparent circle on top of the solid circles, and removing the outer strokes on all of them so they look like glowing orbs. I like the colour change then the trails overlap a lot, that could be a fun exploration for the final project. I wanted to do a tapered trail, but couldn't quite quite get there on my own. I was able to get the some variations by playing with the shapes and transparencies but I couldn't get the taper effect until I asked Claude. It taught me that I needed separate new functions to draw the trails and keep a consistent length, and I needed a for loop to draw each bubble in the trail with an increasing 'i' value that maps to their sizes. Every time 'i' increases, it changes the size of the previous bubbles in the trail based on how old they are, until the limit is reached and they fade out of existence. I wouldn't have figured out how to do this on my own without AI, this is not a natural way of processing information to me. I wanted to try playing with some of the public P5JS sounds, so for this sketch I found one and edited it. This sketch uses filters for the frequency and the resonance to block frequencies above a certain level depending on where you move the cursor on the X axis, and it filters the resonance based on where along the Y axis you are. The higher up you go, the sharper the cut off, which creates a sharp 'whoosh' sound, like wind whistling past an open window. I played with it to change the colour, and make it much wider because in the original version all of the bars clustered together on the left half until I changed it from linear scaling to logarithmic. This visualizer would look different if you use a more bassy audio file, since it's using a frequency analyzer to create the visualizer bars and its filtering for high frequencies. I'm a little bit older so I remember the visualizer on things like Windows Media Player, Myspace, etc. and wanted to try to recreate something similar. A lot of the ones I enjoyed were mirrored so I tinkered to try and do a negative and positive value for the rectangles in the draw function. I couldn't get the spacing how I want but I believe that is due to the frequency filter range, but I did manage to get the mirror effect and added some spheres so the ends have little dots. This is my favourite sketch so far because it's so dynamic, and made me realize I should try layering more effects together. Potential seizure warning for this one. This sketch was a happy accident, as Bob Ross says. I found a waveform oscillator sketch and wanted to adjust it to look like lightning/electricity if possible, and the first thing I did was change the background to black. I got this when I did that and it looked really cool. It's very dynamic and you can get very thin waves to huge waves that take up almost the full canvas. --- UPDATE. I wrote all of the prior, plugged the sketch into this website, and it did not work. The lack of click to start was something I forgot about, so I went back to add it in and a label so people know they need to do that, which broke everything. I had to prompt claude 3 times to solve this because I couldn't figure it out. Turns out I needed to use push and pop, which is something I vaguely remember you mention to us in class Jen. Adding push and pop to isolate the visual styles to their respective function got this sketch back to how it looked before I ran into the error, now with better usability. I tried to make the lightning visual work but it just looked like a glowing gas tube light in a store window, so I changed it up and made this green Matrix-esque glowing square waveform visualizer. Square waveform sounds horrendous, my ears hate this, but it looks cool. I made it by using a similar idea to the glowing orbs earlier, and layered multiple push/pop draw functions with various opacities and thicknesses. Dan Shiffman has a fireworks tutorial I discovered, so of course I had to try and make something visual for that. His was very simple and auto played fireworks in a regular sequence, but I wanted them to be random and sync to a sound file I found in a different tutorial. I could get the sound delay to work and I could get the fireworks to launch independently, but I could not figure out how to link them together. I asked Claude and got a very complex for loop with particle physics variables. This code uses the Attack Decay Sustain and Rate values on one of the variables to control the audio and make it 'pop' like a firework. It gets loud and then quiet very quickly, like snapping your fingers almost. I also had a delay added so when you click you don't hear the sound, and instead hear the sound when the fireworks explode, getting 1 sound per firework. I found some radial P5JS visualizers which inspired me to make my own. I was having issues though as you can see. I couldn't get the visualizer to complete the circle, it was only showing bars around 70-80 percent of the radius but never 100 percent. I asked Claude why and learned the FTT analyzer only gives data in the lower frequencies, there isn't a lot of data to capture in the upper frequencies so they are silent/flat. I fixed this in the next sketch by mirroring the spectrum, and then I made other changes for fun there too. I successfully mirrored the sound, and then added little flying spheres with trails to add visual interest. I tried adding more waveform lines offset from the inner radius but I didn't love any of them, it felt too basic, so I took it out. I watched Steve's tutorial 3 and played with the FTT analyzer that expanded based on the frequency of your voice. This is my first time trying to do a visualization with live mic input. I changed the background and the shape, and then had to use an array for the ripple effect which there were so few tutorials for I had to use Claude. I played with the sound floor setting it very low so it will catch a lot of sounds. I changed the speed so it doesn't move too fast, and made it look ominous with the bright red on dark blue background. Following along with Steve's tutorial instead of reinventing the whole idea like I tried to do with most of the prior sketches, I went simple and just tinkered. I adjusted the radius, the rotation (which changes where the colours are), changed the dots into small lines, and the smoothness of the FTT analyzer so the bars have a smoother animation while extruding from or retracting to the center. I duplicated the draw for loop to make a smaller circle, and then again to make the bigger one. I needed Claude to remind me to make a variable for this in the 'setup' variable stage, because it didn't work originally. I like this sketch a lot too, it's simple but fun to look at and the code isn't super complex compared to some of the ideas I had. I did more exploration online for inspiration and found a cool sketch that gets the current volume level, stores it in an array, and then plots it with a dot along the x-axis and y-axis while the 'plotter' continuously moves from left to right. This is the original source if you're interested <a href='https://gist.github.com/nishanc/fff89709b36dc328c74233d87abd26d1#file-sketch-js' target='_blank'>here</a>. I used this as a basis to tinker with and set out to make it plot dots, kind of like Braille looks but not actual letters. First I turned it green, then I gave the amp.getLevel function a x2 multiplier to spread out the plotted dots more. To make the points more visible I gave them a strokeWeight argument of 5. The plotter auto starts but until you start the sound it only makes a line across the bottom edge of the canvas. This is the exact same sketch as the previous one except I made 1 change. I set the strokeWeight variable to be volume x 5, which created a strobe effect. I had no idea that was possible and I am very excited to discover this. For my final sketch I found a really cool visualizer someone made for music, and they didn't release the code for it but they release a tutorial on how to get started making something similar <a href='https://tympanus.net/codrops/2018/03/06/creative-audio-visualizers/' target='_blank'>here</a>. I followed along and it was alright but it didn't resonate with me much, so I asked Claude to change it into a grid of squares that rotate to the bass of the music instead of a series of lines that form a circle and a star as they rotate. I also made the background darker, and used a gradient hue that is connected to the frame count so the colour changes at a regular interval. There is also an offset hue to force colours to be semi complimentary as they switch.

Project 2


Disability Soundscapes

An Interactive Audio Visual Experience

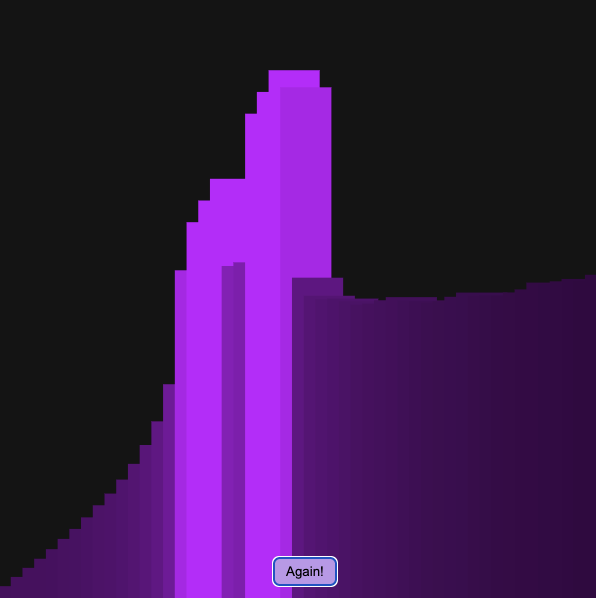
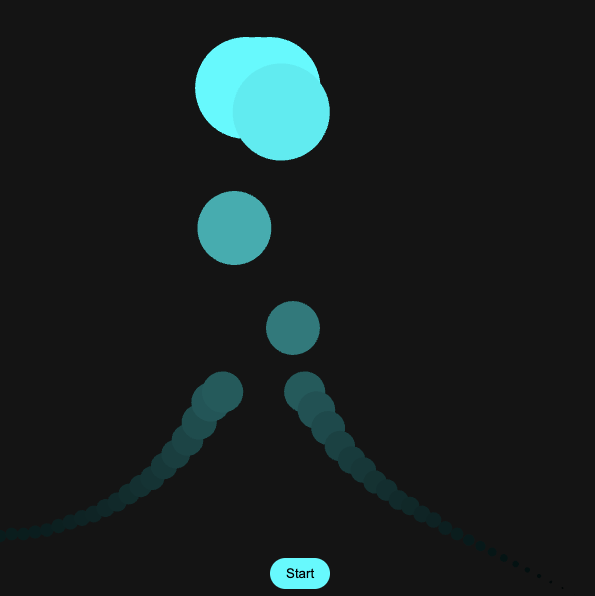
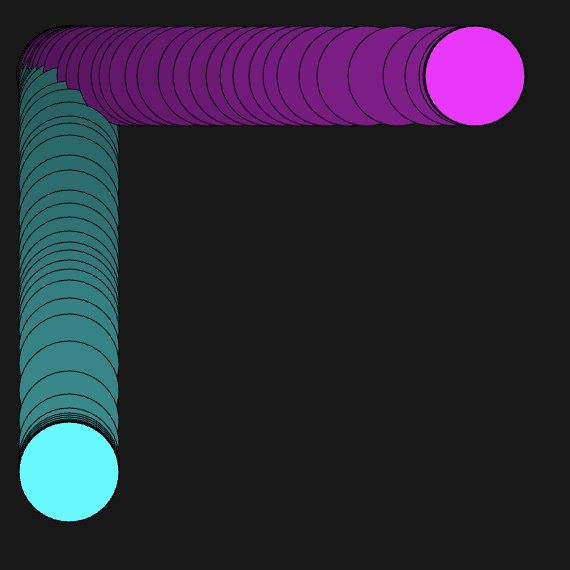
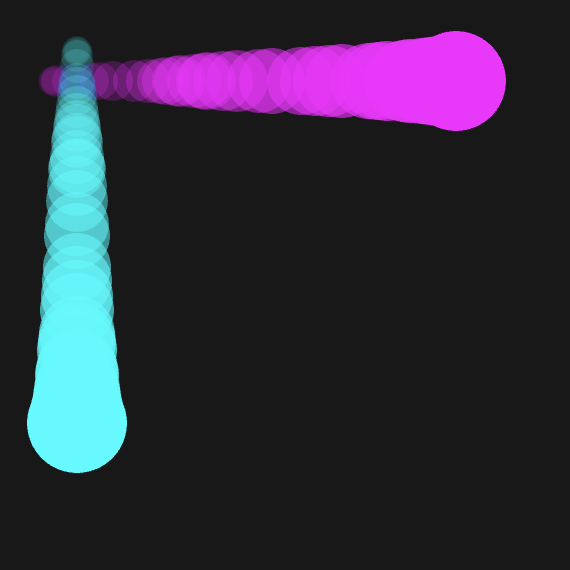
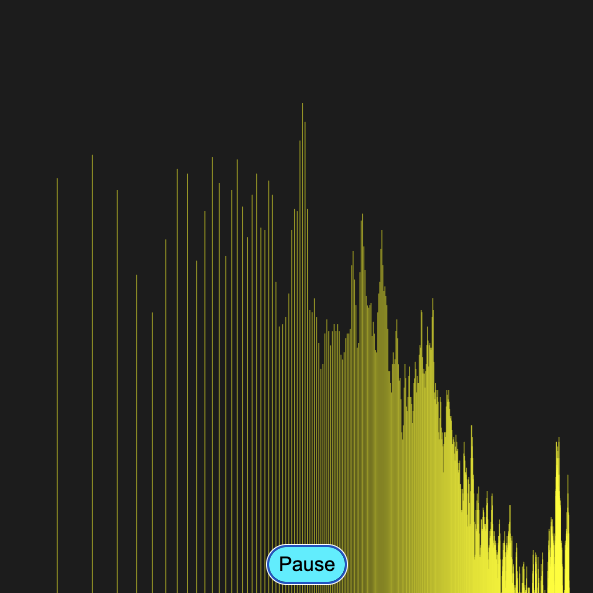
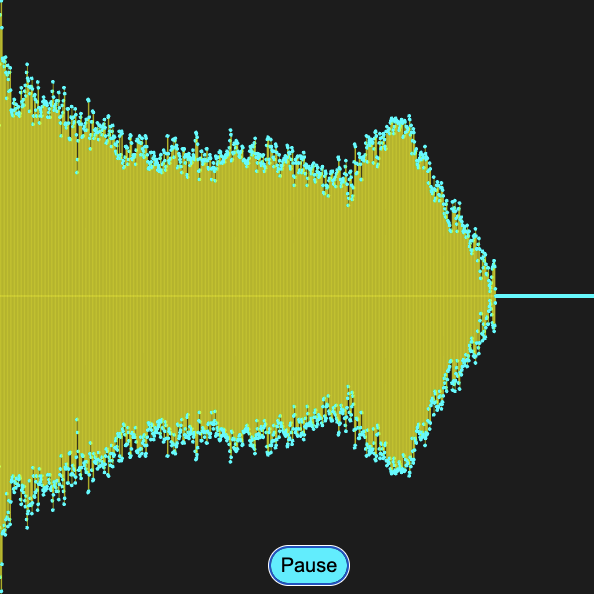
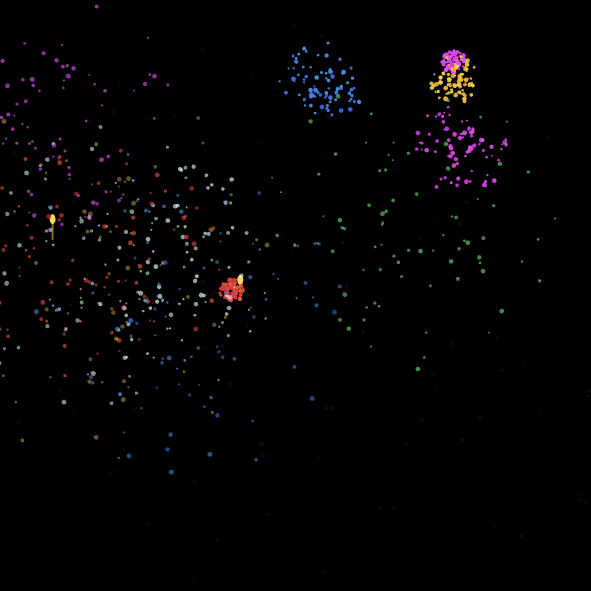
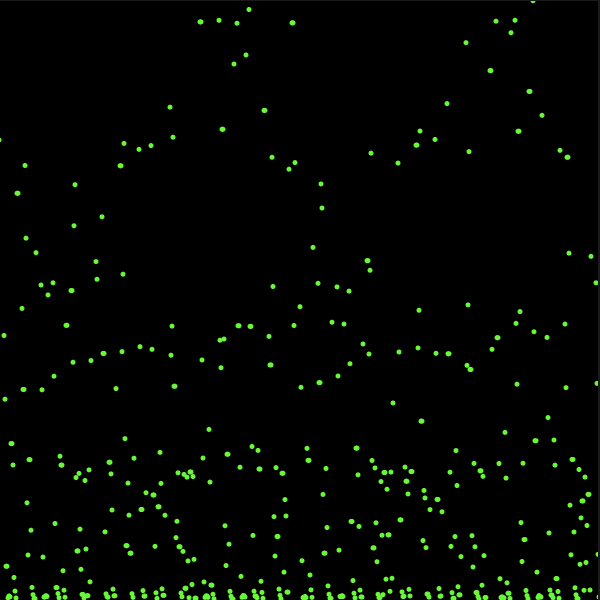
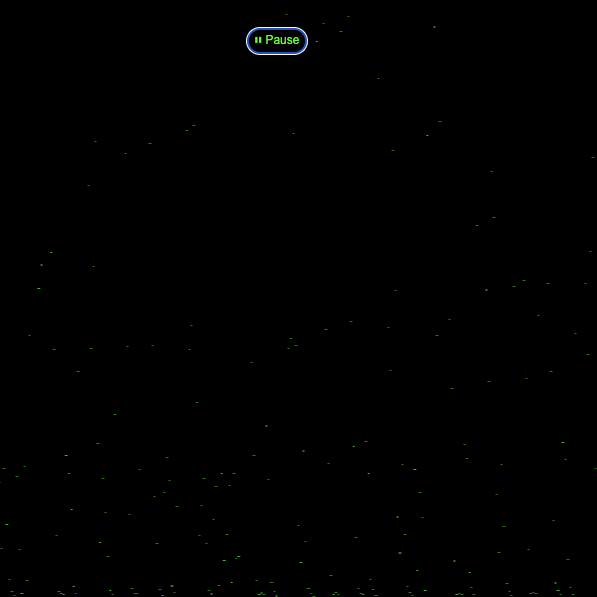
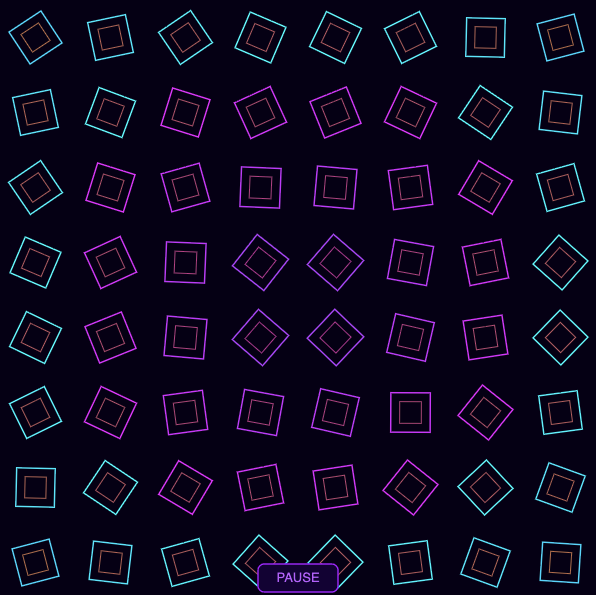
This project focuses on using sound to communicate emotional states that are connected to how I experience the world through my disabilities. I chose the opposing pairs of isolation vs support and calm vs overstimulation because these are feelings I experience often, and they felt honest to build around. Abstract visuals, colour, density, and sound modification were used to make each state feel distinct from its opposite. This project helped me translate personal sensory and emotional experiences into a series of P5JS soundscapes.

×

Powered by w3.css